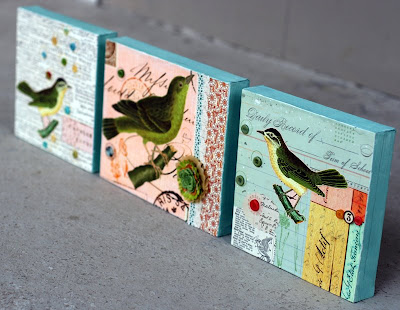
This whole idea came to me when I visited Papyrus, a stationery store in Nashville, where I purchased two sheets of gorgeous bird paper. The colors were going to be perfect for the house I was getting ready to move into. I tucked the papers safely away until I got moved and settled. The only other purchase I needed to make before beginning my project was the canvases, which I found at Joann. I already had everything else!
This project only required a few supplies, including Liquitex Matte Gel Medium, acrylic paint, a rubber brayer, a paintbrush and a craft knife. I also used patterned paper, buttons, stamps, ink, and trims from my stash, along with a few leftover pretties from past Studio Calico kits.

I started my project by painting the edges of the canvases with Making Memories Funky Vintage Sea Foam acrylic paint (from January's Grand Central Station calendar project kit). Although each canvas looks a little bit different, the paint is what unifies them.
I created one canvas per day, on Sunday, Monday, and Tuesday. The process was the same each day: paint the canvas edges, let them dry. Choose the background paper and embellishments. Adhere the paper to the canvas with matte gel medium. Trim the edges with a craft knife and sand, if necessary. Add a second coat of gel medium on top of the paper as a sealer. Stamp and embellish. (I actually did some of the stamping before I applied the top coat of gel medium and some after the top coat dried.)
My favorite part of the project was pulling out all the bits and baubles from my stash and deciding how I could use them to create three individual pieces of art that would function as one. I wanted each canvas to look different, but alike at the same time. Several of the items I used were meaningful for some reason or another, which made the process even more special.
So are you ready to see my birdies up close?
Here is the first canvas:
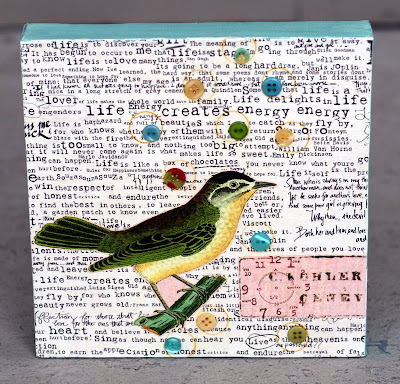
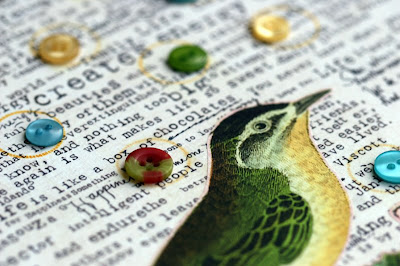
I used one of my all-time favorite pieces of patterned paper, 7gypsies Life Blanc, as the background. The little stamp, which you will see repeated on all the canvases is from Catslife Press.
Here is the second canvas:
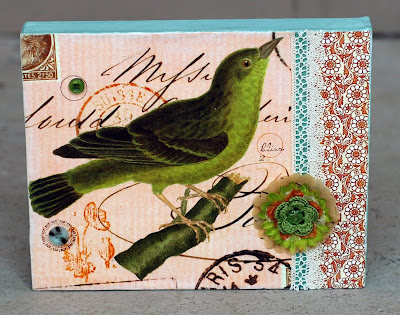
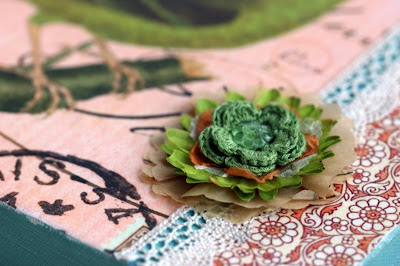
I wanted to go for a little more of a vintage, feminine feel with this canvas. The patterned paper on the right was given to me by my dear friend Nicole, and it ended up being perfect for this project. Several layers of the flower are left over from past Studio Calico kits (the scalloped dress pattern circles, the orange mulberry paper flower, and the green crochet flower). The most valuable treasure on this canvas is the crochet trim saved from a project that I created for my Grandmama's funeral.
And finally, the last canvas:
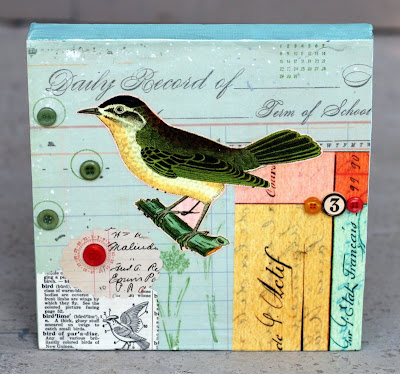
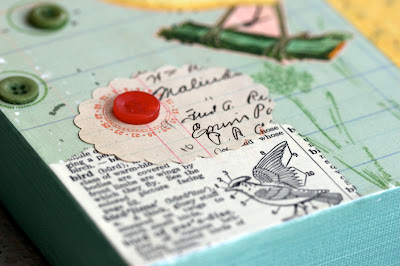
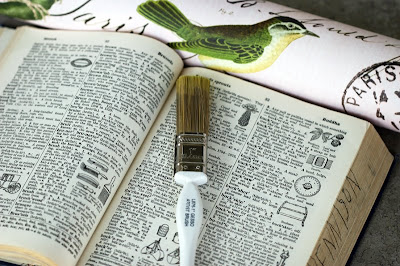
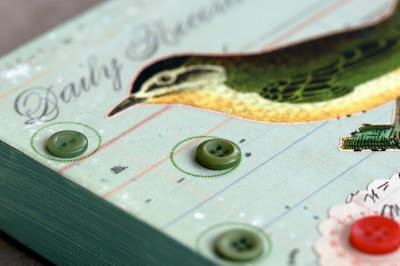
While I loved being able to use a couple of older patterned papers from my stash, my favorite part of this canvas is the page torn from a vintage children's dictionary. This book from 1962 is full of gorgeous illustrations, which are perfect for collage art. The best part is that I purchased it for $1 at a thrift store! The buttons on this canvas were given to me in a vintage Dr. Pepper bottle by my friend Jen. These little buttons were the perfect color for this project.
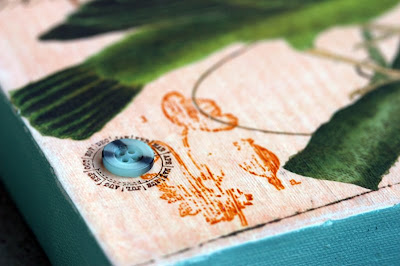
I forgot to mention that most of the stamps and inks I used on these canvases are from Stampin' Up! I have really enjoyed using my stamps again, now that they are easily accessible.
Now that my canvases are finished, they hang on the wall in my dining room, much like this:

Unfortunately, my dining room has terrible lighting, so I photographed them on the front porch!
I thoroughly enjoyed every second of this process. I encourage you to use your scrapbook supplies to step out of your creative box. The results can be so liberating!

Stunning canvases. The second one is my fav! Thank you for all the detailed how-to's, also!
ReplyDeletethose canvases are beautiful.
ReplyDeletethanks for the INSPO Scarlet!
wow! Scarlet, these are fantastic!! thanks for sharing. I love 'em :)
ReplyDeleteSCARLET!!! i LOVE them ALL!!! i was waiting to see your project... and it was worth the wait! they are all so beautiful and so unique!!! thanks for sharing!!!
ReplyDeletewhat a stunning result, scarlet! i love them!
ReplyDeleteBeautiful!!!
ReplyDeleteJust gorgeous! So ... when does your Etsy shop open? ;)
ReplyDeleteScarlet, I am totally inspired by this! YOu mgiht see canvases from me soon! Now I can't wait to see your placemats.
ReplyDeleteI am SO happy to hear you settling in all fluffy and cozy in your new home.
wonderful! love them.
ReplyDeleteoh, this is a lovely idea. thanks for sharing!
ReplyDeleteThe canvases are stunning. My favorite is....well, I love them all. Great idea. I have a ton of canvases (sp?) at home and it is time to try something fun. Thanks for inspiring!
ReplyDeleteThis is just fabulous! Fabulous! I have been wanting to play with canvases forever. Thanks!
ReplyDeleteSO awesome. The second one if my favorite, too. They all look like so much love went into them. :)
ReplyDeleteScarlet! These are beautiful!
ReplyDeleteThese are AMAZING!!
ReplyDeleteOh, Wow! These are very beautiful! :)
ReplyDeleteAwsome, love these!
ReplyDeleteBeautiful! They're so pretty, and your tutorial makes it seem to easy to make, but the talent was in combining all the material into a trio of stunning pictures!
ReplyDeletewhat an amazing project... these are so beautiful!
ReplyDeleteI love these...my 5 year old daughter is crazy about birds. I'm gonna make some soon...thanks for the inspiration!
ReplyDelete