 no...they aren't all weapons, lol...they're my favorite distressing tools!!
i am a BIG distresser...if you look at any of my projects, they all have a smidge of distressing somewhere. photos are a favorite thing of mine to distress...don't be afraid!! i'm not sure why i love it...maybe because it seems to give things a vintage-y feel. who knows?! but i have quickly learned that it's important to have the right tool for the job, thus i have acquired these in my stash.
so let's go through a few options...
the scissors are something everyone has, so it's pretty convenient. the sandpaper below is just from a pack i picked up at Home Depot that has different grits (textures/degrees of sanding ability) all in one. the round grey thing with the red center is a Tim Holtz distressing tool that has blades in between where the notches are cut out of the plastic. the pink handled goodies are my file set from Basic Grey. and of course there is always my foam brush for paint.

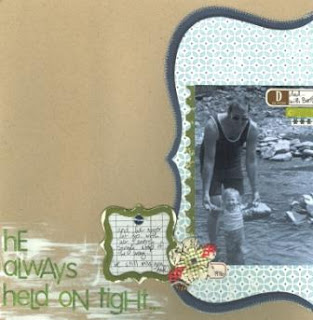
ok, on this layout from the July gallery, i used sandpaper on the chipboard frame that holds my journaling after i painted it. the frame wasn't sturdy enough to hold in my hand while i used the big BG file, so i just plopped it down on my desk and sanded the top with a remnant scrap of sandpaper. i also added paint underneath the title...it not only helped it stand out, but added another element of distressing.
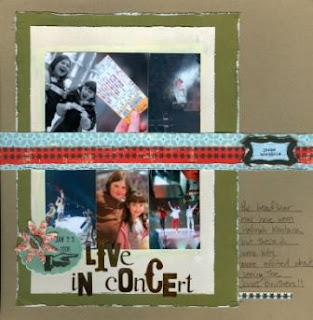
 another one from the July gallery...this one a bit more roughed up. i used my Tim Holtz tool around the green paper to help it stand out from the kraft cardstock. if you don't have one of these tools, you can also just use your scissor blades...just open your scissors up and drag the edge of the paper along the cutting edge of the blades. this method (both with the tool and the scissors) makes the edges of the paper you're distressing stand up a bit...it will not make them smooth so that they lay flat like a piece of sandpaper will. and of course, i roughed up the frame after painting it, lol.
 now this...this took me awhile, lol. i used my big BG flat file on the straight edges of this album, but used my smaller files to get into those scallops. then i used the round tiny file to define the holes where the binder rings go...sanded the chipboard flower after painting (lol) and also sanded my alphabet stickers before i laid them down.
so you can see that the possibilities are endless...anything that will lay still can be distressed somehow.
at least that's how i approach things, lol.

Fantastic inspiration and ideas, thanks
ReplyDeleteDebbie Clarke
I love my distressing tools too. I have a whole container in my scrap space just for them, & they get used a LOT. Thanks for sharing.
ReplyDelete"Why are you messing it up?" says OH. He really doesn`t understand my need to distress everything LOL. First time looking at your blog, some great ideas here.
ReplyDeleteLove the distressing ideas. I also thinkthe tree with the little cut out circles is WAY cute!
ReplyDeletewow. love this. love this blog too. very innovative and inspiring.
ReplyDelete