Here's the finished project. I'll start in the upper left corner and work left to right down the canvas, each mini canvas square is a different technique.

The first mini canvas shows the gesso product. I applied a semi thick layer of gesso over the canvas and then with a toothpick i drew some funky patterns in the gesso. Try writing your name with this technique. It's of such a texture that it will hold the pattern well. I let it try, this takes a good chunk of time, so plan accordingly. For my numbers canvas created for the Playground kit, I let the gesso dry overnight.
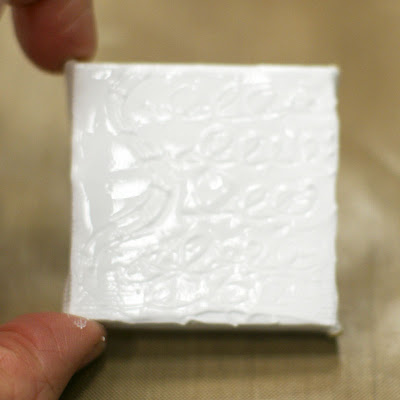
Once the gesso was dry, I took some paint and sprayed it with water to make it thinner. I was using a craft sheet from Ranger--I have since purchased my own and highly recommend them!
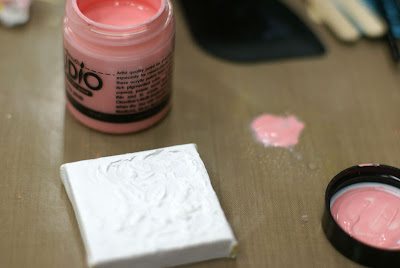
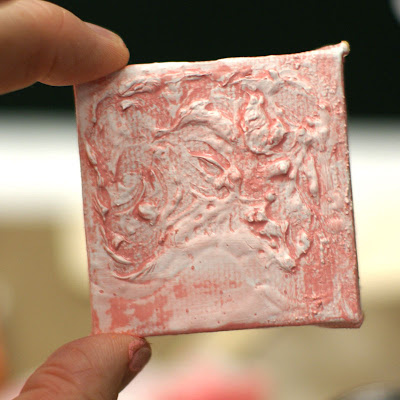
I painted the watered down mix over the gesso and then wiped it off with a paper towel. Because of the bumps and valleys in the gesso, you get darker and lighter parts once you wipe the paint off. It's a very cool technique. I used this same idea on one of my projects for the Over the Rainbow kit, except with sculpey clay. The thing I love about the gesso is how much texture you can get with it. You can also stick things in it before it dries like beads and buttons and they are stuck! It's definitely pushed me and made me try more artistic techniques. I love it.
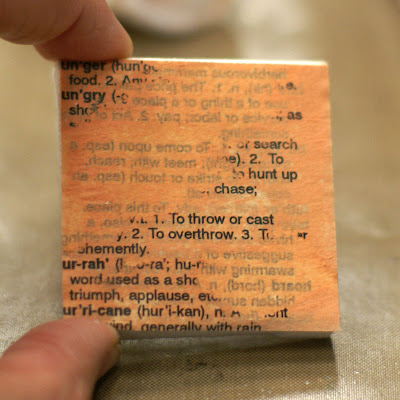
This is the dictionary page. We attached it to the mini canvas with the gel medium. It dried very quickly. Then we took a couple strips of masking tape and taped over parts of the paper then pulled them off to get this distressed look.
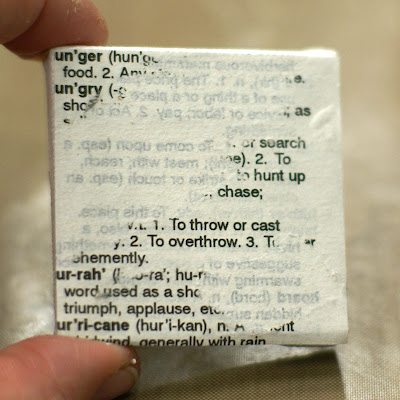
Again, I watered down the paint using the mini spray bottle from Ranger.
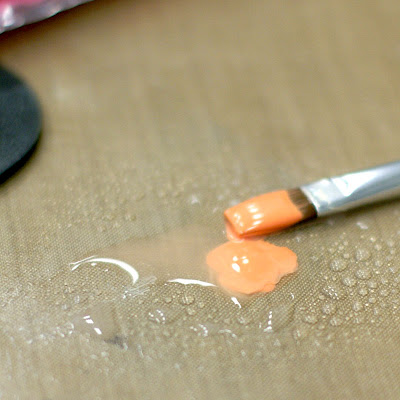
And paint a thin layer over the page. It absorbs it so nicely.
This next mini canvas shows you how differently the sticky back canvas takes paint compared to regular canvas. The heart is die cut from Claudine's sticky back canvas and then stuck to the mini canvas. I used the sprayer to water down some red paint and then did a wash over the whole thing. The sticky back canvas pulls in a lot of the paint for a rich intense color. The regular canvas takes on a lighter color of the red. I think it makes for a really nice contrast.

The next project shows you how the paint can be used as water colors. We each got a small square of Prima's Paintables paper and again using the sprayer, I watered down dabs of paint and started painting away. So much fun to see it act like a watercolor paint!

We attached the paper to the canvas with the gel medium. It's the perfect liquid glue.
Moving on to fabric. You can do some very cool things with gel medium and fabric. I was able to mold the fabric to the canvas and then trim off the excess. It is stuck solid. How fun would it be to add some pleats and tucks to a project this way? The gel medium dries clear and incredibly stiff, it's not going anywhere.

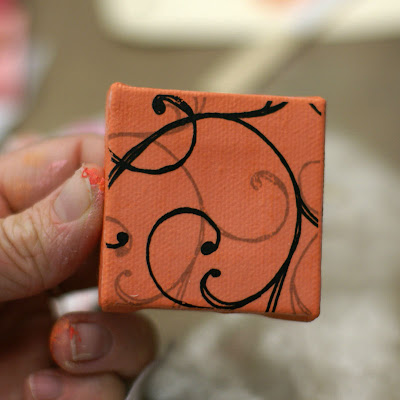
Tape with a wash over it is such a fun look, it's similar to the gesso project, just using tape to create the texture. I watered down my paint and added a thin layer.

At this point, we were supposed to stencil a flower on with the white paint. I'm not terribly good at stencils, so I had to make a small adjustment...
See how I added a layer of white paint instead? :) I dry brushed over the stenciled area and then tried the technique again with the orange.
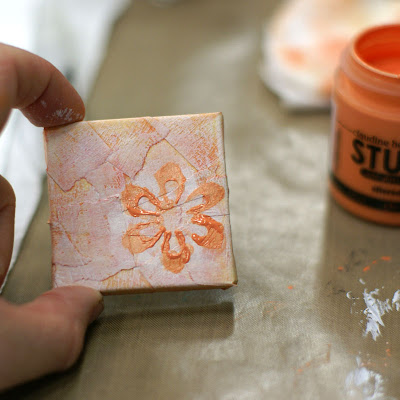
This following canvas is one of my favorite techniques from the class. The reason you can't see anything in this picture is because the white paper is attached to the mini canvas, image side down, with gel medium. Why, you ask? Well let me first state that the white piece of paper is a photocopied image--and it must be a laser jet photocopied image or the technique won't work nearly as well.
So we took the image, painted on a thin layer of gel medium and attached the paper to the canvas, pressed out any bubbles and then let it dry. It took about 30 minutes.
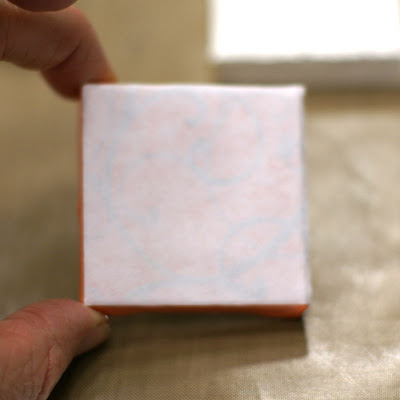
Once the paper was totally dry, we sprayed water all over the paper, using the spray mister to get nice even coverage. You can see the image better now, but wait, it gets better!
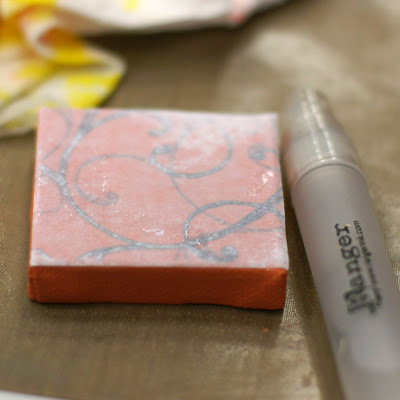
We started rubbing the wet paper off with our finger, and voila, the laser printed image stayed on the canvas. How cool is that?
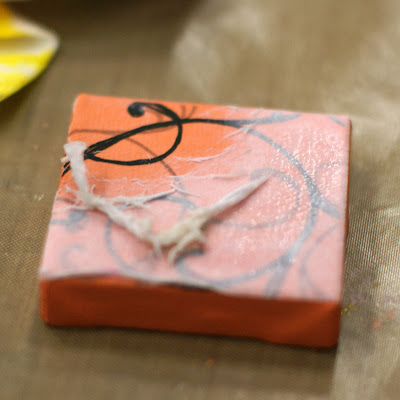
This is the finished product. Isn't it a fun technique? I'm not sure how it would work on paper, but it was definitely fun to do on canvas. I had prepainted the mini canvas before I started the process.
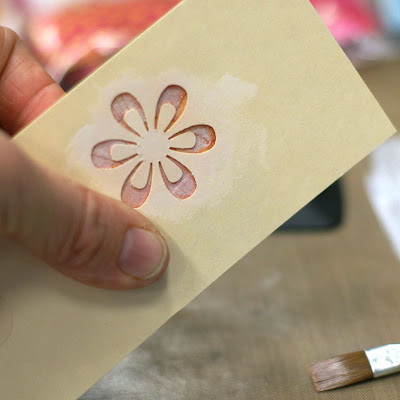
Using Versamark and clear embossing powder, you can stamp any image on a piece of cardstock and then with a head gun, emboss the image.
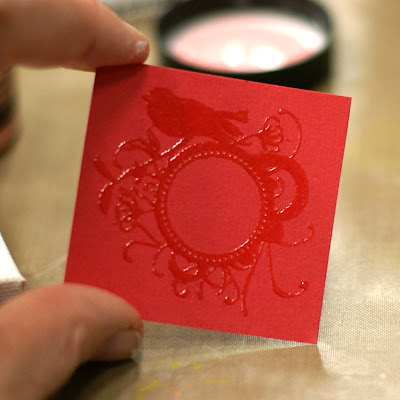
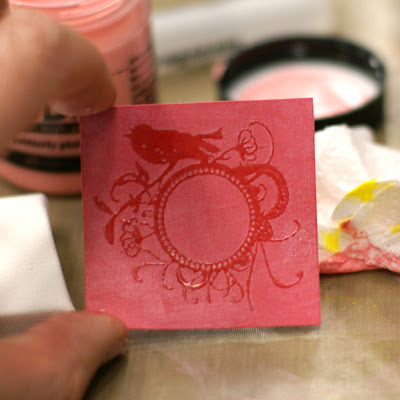
We then painted over the entire piece of paper and quickly wiped the paint off.
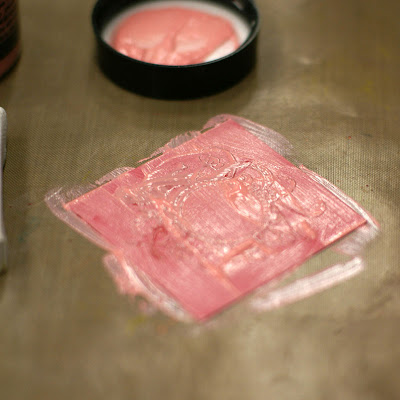 It left a layer of paint everywhere except where the embossed image was. So cool!
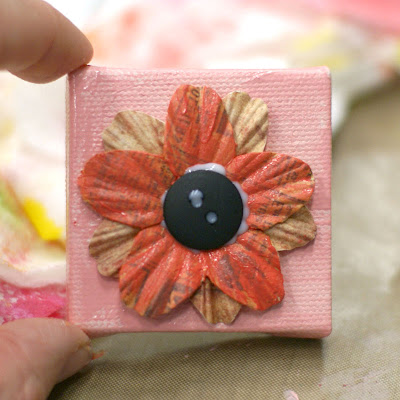
The last canvas shows the translucent quality of the paint. I painted over a Prima flower and you can still see the printing, but now it has an added dimension. This quality takes some getting used to, most acrylics are more opaque than Claudine's. You can obtain an opaqueness by adding a couple of layers of paint. But the translucent quality allows for a lot of fun options to try.

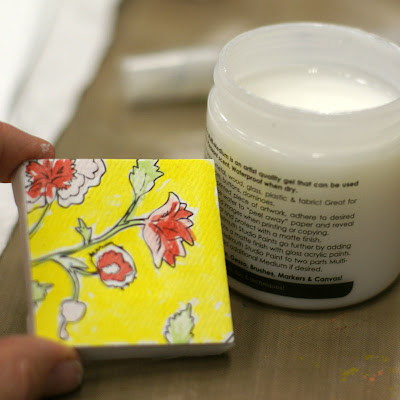
I glued both the flowers and the button onto the canvas with the gel medium. It dries clear, so you don't see any of the white that is in this picture. And that stuff really sticks! In fact, all of the mini canvases are glued to the main canvas with the gel medium, and 6 months later, they have not moved at all. It's very impressive.
So there you have it, nine things that you can do with the Claudine Hellmuth paints, gel medium, gesso, and sticky back canvas available in the Studio Calico Shop. I challenge you to come up with more!

38 comments:
Loved this post - thank you!
look at youuuuuu!!! this is awesome!!
Thanks for all the wonderful ideas Emily - this is awesome xxx
Thanks, Emily! There are so many terrific ideas here.
Love the step by step and photos! I am feeling creative! Joy B.
What an awesome tutorial! I just bought one of those craft sheets and love it already.
Fun stuff, MLE! Thank you!
Gorgeous piece of art.
I am a Mixed Media Artist as well as a scrapper & I adore this kind of project.
Many of the MM challenge blogs push our boundaries & we make all sorts of alterd items. The very latest being Canvas Back Shrines. Which is decoratiing the back of a canvas & using the recess to create a mini shrine. That way both sides of the artwork are viewable :0)
What fabulous techniques! I'm printing this for inspiration for an rainy day. Thank you (and Claudine!) for sharing this! And now I'm heading to the SC store to get me some of these goodies. :)
Thank you for an awesome post. I love love love your project! I can't wait to give some of these techniques a try!
Very cool Mle! What great ideas :)
Ooooh - this is perfect timing! In my overhaul of my studio I rediscovered my Claudine canvas sheets! I am dying to use them!
Wow! Gorgeous!
Loving this!
awesome tutorial Em! Love these ideas. Especially since I've been doing a lot of playing with techniques this week.
Thanks Em! Almost feel like I took the class with you...oh, ok wishful thinking :)
All of this looks very messy and COMPLETELY Beautiful!! Great work Emily!
this was fabulous emily! thanks SO much!
I needed this Emily! Thanks! I just purchases some of this stuff this week!
thank you so much for posting this. I love, love, love this type of altering, mixed media projects.
Thanks for the FABULOUS post!
that is way cool
This is great! I love the mini canvas techniques. Thanks for sharing these beautiful ideas with us.
Love that you made a sampler! Thank you!
That is so cool. Fabulous!! I am going to have to try that.
thanks for this! definitely gonna try a few of these techniques!!
This is fabulous! Claudine is a genious and I appreciate you sharing this with us!
Thank you so much for sharing all of these wonderful techniques here. I adore your finished piece and love each of the squares. I have this on my list of things to do one day - when I catch up.
~Nina in San Diego~
Can't wait to try some of these techniques. Thanks you so much for sharing this post. I loved it!
WOW, what fun. I love doing projects where I can get my hands dirty :)
Great techniques, so many new things to try out! Thanks for the inspiration & sharing your ideas :)
what an awesome share!! i'll be kept busy this weekend!! thanks!
love this tutorial. thank you so much.
This was AMAZING! Thank you SO much for posting this! :D I want some of that gel medium! So cool. :)
Wow - those look awesome!
Just wanted to say Thankyou for this wonderful tutorial.
This is awesome.
There's an artist in me waiting to get out. These techniques will surely help! Thanks!
can u please post a video for atleast one of the techniques..
Post a Comment