May 24, 2010

Rub Ons Challenge!

Good Morning!! How's your Monday so far? :) It's a brand new week and this particular week, Emily and me are gonna be your host. Check back daily, yes? :)

Our challenge this week is to use rub ons on your layout. Simple, yes? Here's my layout.


I used all three colors of the 'Patterns' - green, brown, grey and 'Buttons' in blue and grey. I used twine to stitch on one 'button', and some brads for the rest. Background misted with Sunflower mist. I am in such a 'yellow' mood lately :) See that yellow butterfly? I told ya! And btw, I think my punches are my best investment for this hobby. Yup. The best.

So, play with us? :)

Just link your layouts up on this thread by Midnight EST on Saturday, May 29th for a chance to win a $5 Gift Certificate to the Studio Calico shop!


Reminder : All layouts must be uoploaded to Studio Calico's gallery, and linked back to the thread on the message board to be eligible. :)

May 23, 2010

Sunday Sketch

There was much excitement this month on the message board surrounding Jennifer Johner's guest design work with the Granny's Cupboard kit. So much so that we wanted to feature her design as a sketch!

Jennifer is great at using neutral backgrounds and decorating them with little bits and pieces to make them incredible...and certainly never boring. Notice the title placement and the journaling space. There's tons of room to tell your story with this sketch! Jennifer used hand-drawn lines, but a perfect alternative would be to draw them with a ruler or use a stamp, like this one to help keep things lined up.

The original layout features two photos, but as you can see here, it could easily be adapted to add one more in the top right corner instead of a piece of patterned paper. Like always the interpretation of this sketch is up to you, but be sure to link them here by Saturday for a chance to win one of 2 Studio Calico gift cards.

Typography Challenge Winner

Thanks to all who played along, and the random winner of the typography challenge is....


by qingmei

Please send an email to info@studiocalico.com with the following information:
  • Name
  • Contest: Typography Challenge
  • Prize: $5 Studio Calico Gift Card


xoxo,
Steph W

Sunday Sketch Winners


by jenjeb


by twirlysc

Congrats to the winners this week! Please send an email to info@studiocalico.com with the following information:
  • Name
  • Contest: Sunday Sketch 5/23
  • Prize Won: $5 SC gift card

Layout of the Week


The layout of the week is brought to you by Christyn Holmes (christyn).
Each week, the layout in the gallery is linked, so you can add it to your favorites easily.


This layout has been added to your favorites more than any other layout in the SC community gallery for the week of 5/16-5/22.

Congratulations Christyn! Because of this you have won a $10 gift card to be used on any new purchase at Studio Calico.

Want a chance to win next week? Be sure to upload your projects to the SC gallery, and support your community by adding special projects that catch your eye into your favorites! It could be YOU next week!

Please note, winners are not allowed to win more than once in a four-week period.
Winners are not limited to those using Studio Calico kits.

May 22, 2010

Paint Effects Tutorial

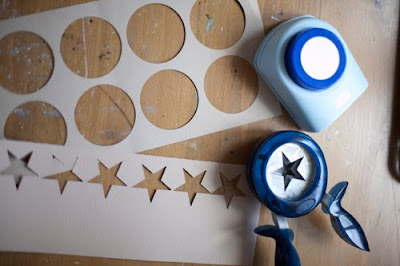
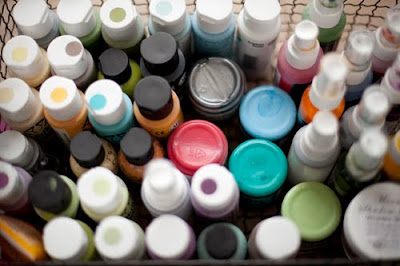
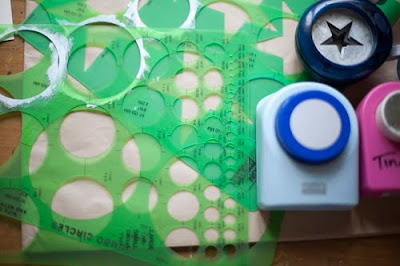
Hi! Tina here. I'm going to give you a few techniques on how to create unique backgrounds using paints and mists. So prep your work area with some scratch paper and get ready to get your fingers tips dirty. :) Get out your paints, mists, a cheap paint brush, a foam brush, a hard plastic card (like an old gift card), a circle and star punch, some stamps and ink.
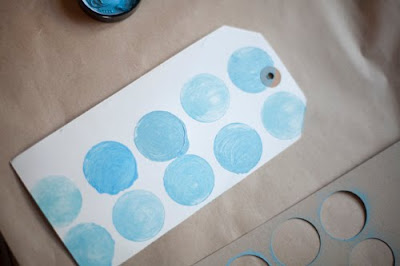
I sometimes use my plastic circle template but found making your own with all the same size circles makes the painting go faster. Choose your paint color and grab your stiff paint brush (I usually get the cheapest ones from Micheals)
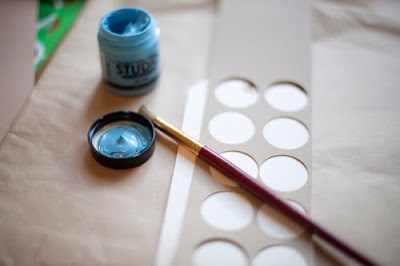
Painting in a circular motion, fill in the circles but don't load your brush with more paint until it becomes faint. Usually by the 3rd or 4th circle. Having different tones of blue makes it more interesting. Let it dry before moving onto the next step.
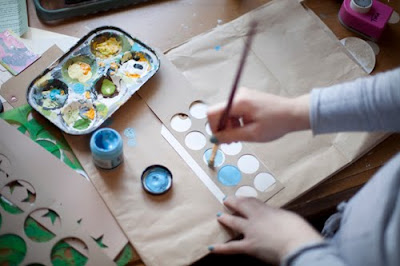
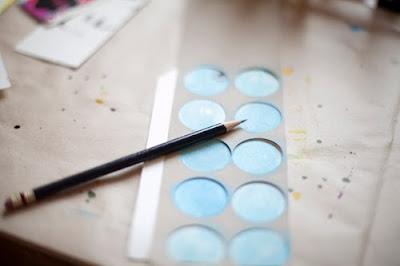
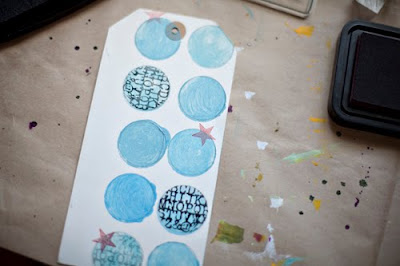
After the paint has completely dried, place the template over your paper and trace circles using a pencil. This defines your circles and adds more depth.
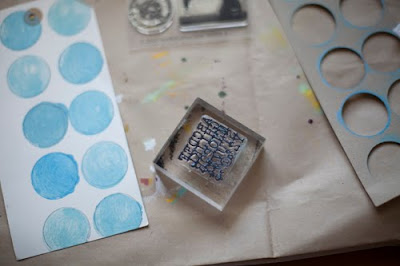
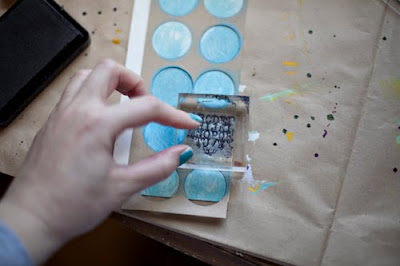
Let's keep going....grab some stamps and ink. With your template placed over your painted circles, stamp your image.
Here's an example used on an older layout.
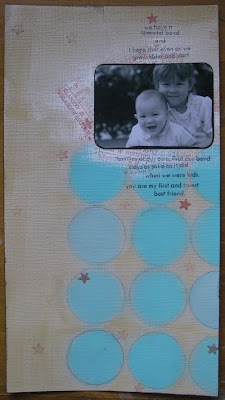
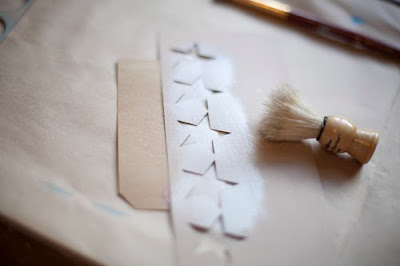
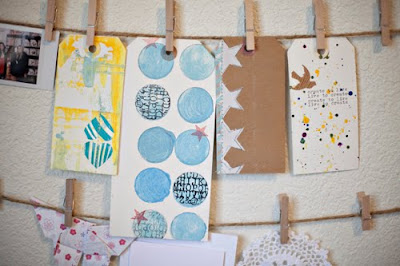
Try this technique with a different shape template. Stars are really fun.

I showed this paint technique last year but thought I would add a little twist.
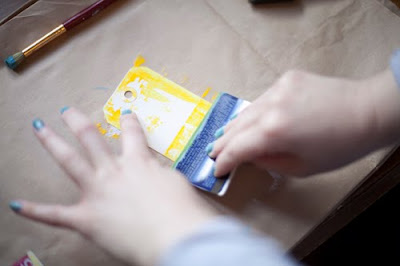
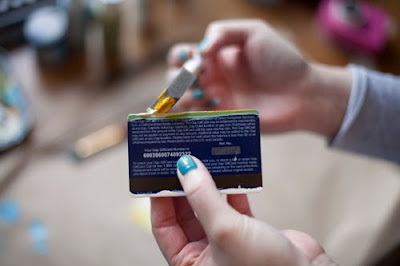
Take your plastic card, a foam brush and a few colors of paint.
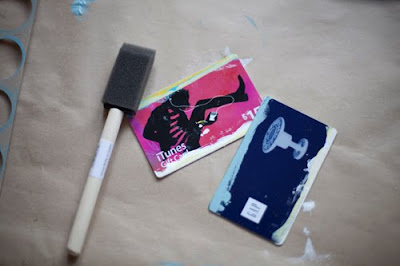
Start with your first color and apply a layer of paint to the edge of the card.
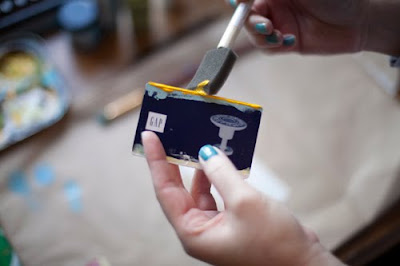
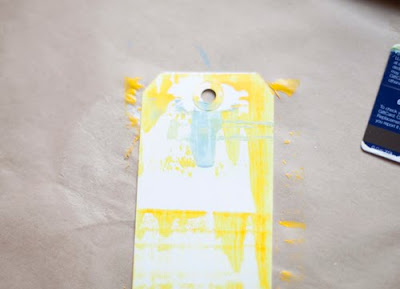
Place the card on your paper and drag it down.
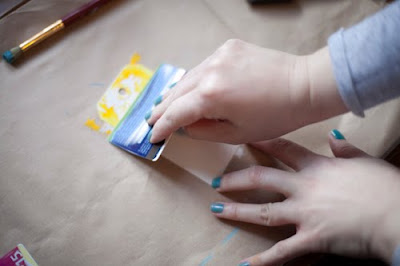
Without cleaning off the card, add another paint color. Repeat dragging.
I applied this technique to my most recent layout.

This last technique was inspired by 2 things.
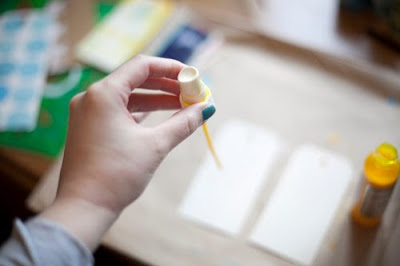
First, I happen to accidentally splatter some mist when I was trying to unclog the sprayer.
Second, I came upon a photo on Tumblr that had a similar effect but was done with water color paint.

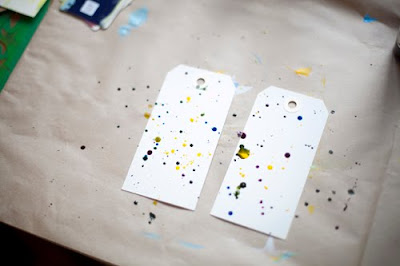
Uncap your mists and shake onto paper. This will add droplets of mist. Add several colors.
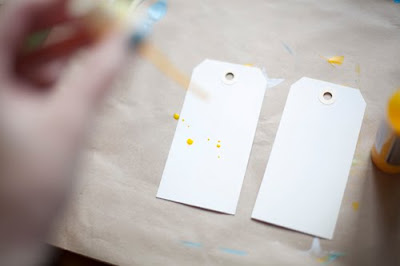
After adding your desired amount of mist splatter, take a paper towel and blot it dry.
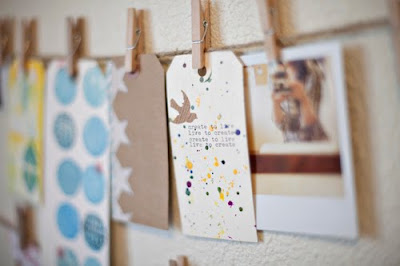
I added a typed message and a bird (using the MS punch). I can't wait to try this on an actual layout.

Thanks for hanging out with Stephanie and I this week.
I hope that you will give one of these techniques a try.
Practicing on little tags is something I recommend before applying them to a layout.
Remember, have fun and make it your own!

May 20, 2010

Member Spotlight


This week's member is Paloma1815. Her funky, simple style makes me want to drop everything and scrap. I love her use of white space and her teeny, tiny pictures.


1. Name/Screenname:

Paloma1815. I'm Spanish but I live in Waterloo (Belgium), where Napoleon got busted in 1815!


2. Who has most influenced your style? Explain.

I've been influenced by just about everybody! I guess I'm a very receptive girl : I love browsing through blogs, snooping around… I then make a mental note of what I love and try to use it after on my layout and my own way.


3. What 3 items can you not live without?

Alphabets, rubons, stitching and journaling!

4. Any guilty pleasures?

My husband. Oh and chocolate and... to read a good book in the bed!


5. What's your favorite Studio Calico kit?

Tough question... There is always something interesting, something new... errr, Over the Rainbow, maybe and Via Airmail...


6. What's inspiring you right now?

paint (splatters, mist, and so on), little pieces of paper, small photos.


7. Choose a layout that best represents you as a scrapper?


Visit her gallery here...

And check out her blog here.


Thanks for being inspiring, Paloma!

May 19, 2010

inspired by...

Stephanie's Typography challenge.
Get your layout into the gallery by Saturday for a chance to win a $5 Studio Calico gift card.


Items used in this layout:
large numbers
Noah alphabet
pinwheel
(hurry, this one is pink slipped and it's still available!)
letter border (I'm sad to see this one go and I'm also sad to report this is now sold out)
notepaper (another one that's gone)
the ampersand and "gratitude" were limited editions.
paints, washi tape(the one that's in the Shade Tree add on) and Anthology FabRips.

May 18, 2010

Using Type Creatively

Typography is what usually draws me to anything - whether it's a scrapbook layout, or a book cover. These posters and layouts caught my eye by using type in a smart way.


(source)

This card by amyharle


(source)


This layout by Paloma1815


(source)


This layout by Beth Ann


(source)

And this layout by Megan Klauer


Thanks for the inspiration, ladies!

outside inspiration: fonts

(*)