It's one of the trickiest photo-taking situations - shooting in low light. Yet, we all have to do it sometimes. Today, Kelly and I have some tips on taking photos in low light.
First, these are the main things you can do. Some of you may know of a few of these tips, some of you may not, so I'll just go over them all:
- Use a tripod. This allows for your camera to sit still. Using a remote to trigger your shutter is even better, since you will avoid the risk of slight camera shake when you hit the shutter.
- Shoot wide open. This means that you are shooting with your aperture (the f-stop) set at the lowest possible number. On some cameras, this is f3.5. On others, it's as low as f2.8, f1.8, f1.4, even f1.2! This is why a lot of people swear by the 50mm f1.8 or f1.4 lens! Of course, you must remember, that the lower the f-stop, the more shallow the depth of field, which means that less of your image will be in focus. This can allow you to play with some fun effects, however, you must keep this in mind when you are trying to shoot in a situation when you need a lot of your image to be in focus (i.e. group shots). in those situations, you just might have to use the dreaded flash.
- Watch your shutter speed! Your shutter speed should not be lower than the inverse of the focal length of your lens (if you're shooting with a 50mm lens, then your shutter speed should not be lower than 1/50). If it does get lower than that, use a tripod or another steady surface! This will allow you to take the crispest photos possible. Of course, you will come across a situation where you will have to shoot at a lower shutter speed without a tripod...in that case, hold your breath and hope for the best!
- Bump up your ISO. On most cameras, this will go as high as 1600. On some cameras, you can set it up to 3200, even 6400. This is the digital equivalent to film speed/sensitivity. Just keep in mind that the higher your ISO, the more grain your photo will have. If this bothers you, you might want to look into a noise-reduction software or plug-in such as Noiseware to reduce the noise while you are editing your photos.
If all else fails - use flash! External flashes will give you the best results, of course. Bouncing the light and using a diffuser will light your subject without being super harsh.
If you don't have an external, you can resort to your pop-up flash. I like to set my flash exposure to about -0.3 (you can usually set this by looking in your in-camera settings menu. Consult your manual for details). This allows your flash to be a little bit weaker. Sometimes, when I shoot with a normal flash, my subjects get really blown out. This helps with that a little bit. Remember to not get *too* close to your subject, otherwise they will end up being blown out. You can also try attaching a piece of tissue to your flash as a DIY diffuser. Gary Fong also sells diffusers for pop-up flashes. These allow the light to be a bit softer.
Another trick to take better low-light photos is to adjust the white balance. This customizes the colors and the look of the white in your photos based on the situation you are shooting in. Have you noticed that your photos turn orange when you're shooting indoors with artificial light? This is because your white balance is off. Your camera should have a variety of presets for several situations. If you're inside and shooting in incandescent light, use the "tungsten" setting, which is usually represented by a lightbulb icon. If you are outside on a cloudy day, and notice that your photos have a blue-ish tint, set your white balance to "cloudy" - usually represented by a cloud icon. Check your camera manual for specifics.
Sometimes the presets still don't fix my color issues, however. In that case, I use custom white balance. It's a bit tricky to explain how to set this, so if you want to try using it, I suggest that you consult your camera manual. For best results, use a grey card to get an exact reading of the lighting situation. The "white" used to analyze white balance isn't a true white - it's more of a shade of grey. By using a grey card, you will get a more accurate reading of the lighting situation. However, you can just use a white object in a pinch. I almost always end up using a napkin, since a lot of my indoor photos end up being taken at restaurants. This will cause your pictures to have a slight blue-ish tint, but it's much easier to fix afterward than if you have a super-orange photo.
If it comes down to it, you can also set your camera to underexpose your image slightly. It is almost impossible to save a blown-out, overexposed photo, but you can salvage slightly underexposed pictures with photo-editing software.
Kelly has a couple of tricks you can play around with:
Sometimes, especially in low light situations, photos turn out darker than you'd like or the color is not true to life. There are two easy fixes in Photoshop elements that bring new life to your low light photos!
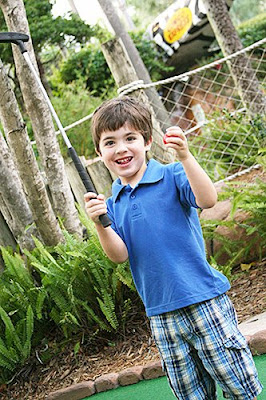
The first is using the Screen layer mode in PSE. Take this photo here...it was getting dark outside when I shot this, but I knew I didn't want to resort to using my flash yet. I had already used a lot of the tips that Caroline gave...high ISO, slow shutter speed...but if I would have used a slower shutter speed than this, my photo would have been likely very blurry. Knowing that I could use the Screen layer in PSE to brighten it up, I settled for a underexposed photo.
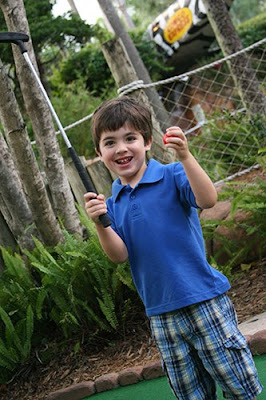
To correct this, first create a new layer in your layers palette. Then in the layers palette, you'll see a drop down menu. Change the mode to "Screen" and adjust the opacity to your liking by sliding the slider either left or right. See how such a simple fix improved this photo dramatically?
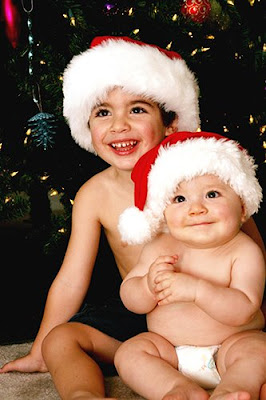
A lot of times if your low light photos will tend to have a yellow tint to them. For example, this photo...severely underexposed and definitely has an strange color thing going on....
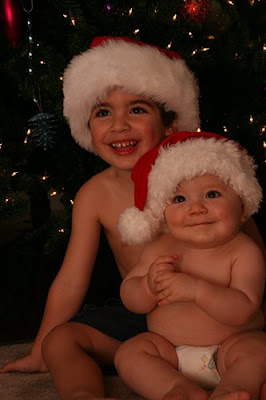
To fix this or at least improve it, you'll first have to use the Screen method from above (sometimes 2 times if your photos is this dark!). Then, go to Enhance in the toolbar and select Adjust Lighting
hope these tips help you out! :)


 I hope you enjoyed these photo tips...I think the most important thing to remember is that being in the moment is more important than capturing the "perfect" photo. Enjoy! :)




 I hope more of you will upload your Fountain Square layouts soon. I know I love seeing all the fabulous things you all do with the SC kits.


