Showing posts with label stamps. Show all posts

August 12, 2010

Insider Tips - use stamps for your title

Hello everyone!

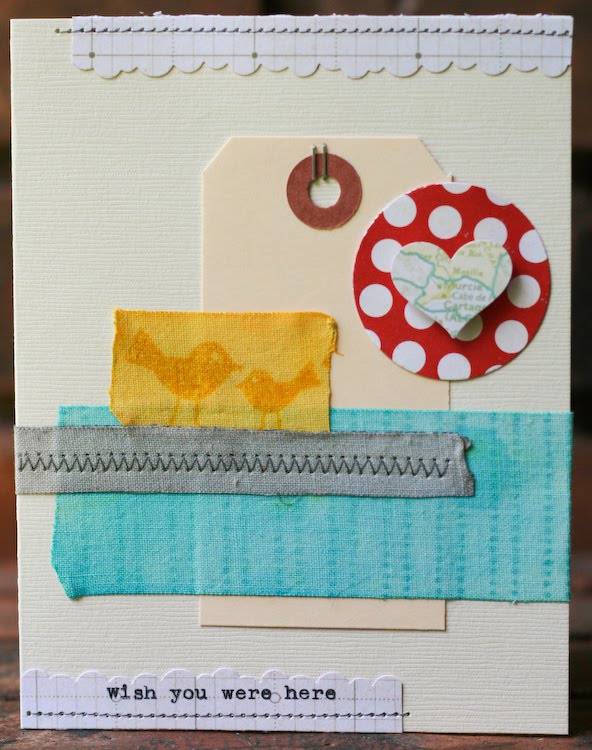
I made a special layout for today's insider tips - I couldn't resist using my left over products from my Elk Lake & Adirondack add-ons :) I just LOVED playing with these two add-on kits, not only they match perfectly with my Main Kit, but the colors are exactly what I'm craving for at the moment :)

Here are a layout for my two of my best friends, a special gift for them : Amelie is an excellent cooker and Ben simply ADORES food :)

For this layout I used :

Elk Lake & Adirondack add-ons
Stamps : Tweets, Sewing Machine Set, Months stamps, Noah alphas
Raspberry Maya Mist
Punches : Bubbles border, Double Embossed Dotter Lace border , Photo Labels punch, Royal Butterfly
Foam squares


For my title, I simply combined one of Jenni Bowlin's journaling tags, the Months stamp and Noah alpha stamps to make my title : simply use different fonts, different ink colors, different elements to make a unique and urban background.
Feel free to mount one of the stamps with foam squares in order to add dimension to your layout.


Here I first stamped my label stamps that I got in a previous kit (available soon at the shop) that PERFECTLY matches my Photo Labels punch - could it be even more perfect?! So that means : you need to order that punch and then order the stamp soon available :)


Thank you and I'll share a layout I made inspired by Sasha on Saturday :D
Take care!
c

July 22, 2010

insider tips : faux washi tape

Happy Thursday, everyone! This week is flying by for me. Today, I want to share some faux washi tape inspiration with you. I love the look of washi tape, but have never been able to pick just which colors or patterns to get - and buying rolls adds up quickly! I've experimented with making my own with masking tape, mist and stamps, but was never happy with the results. Earlier this week, I came across this tutorial for making it using fabric tape that you find in the first aid aisle. The tutorial uses watercolor paint to color the tape, but I wanted to see if I could make it work with mist - and it did!

I found that the best way to get even color was to brush my tape with water first. I love this brush set - they are priced well and the brushes hold up beautifully over time. You can use the tape full size or cut it to a smaller width - I had no problem using my paper trimmer to cut it.


Next, I sprayed the tape with mist. I used hydrangea on this piece. After I misted, I used my paint brush again to spread the mist evenly. You could also leave it as is, and get a more of a gradient color wash - the point closest to where you sprayed would be the darkest, and it would fade from there. If your color is too dark, blot it with a paper towel and you can remove some of the mist. If you're happy with the color it's time to let it dry. It took about twenty minutes for my tape to dry completely, but if you're in a hurry, I'm sure a heat gun would speed up the process!

Now comes the fun part - adding patterns with stamps. The sky's the limit here - you can go for a tone on tone look, or experiment with something a little more bold. After I stamped, I used my tapes on a quick card - and of course I had to keep with our travel theme for the week. =)


(supply list : vanilla cardstock, jetset pp, window seat pp, girl's paperie pp from the july kit, hydrangea mist, lemon mist, charcoal mist, tumbled glass ink, mustard seed ink, journaling lines stamp, tweets stamps, tiny attacher, bumpy road border punch, foam adhesive, shipping tag, fiskars heart and circle punches, typewriter)

The best part of this? The roll of fabric tape cost me $2.79 - I had everything else on hand. Now I can have tape that matches any project for a fraction of what washi tape would cost. I can't wait to experiment more with this technique.

July 17, 2010

tutorial : building a mini


Hi all!! I'm here tonight with a tutorial on how I made the mini album in my Continental gallery. I've been holding these Fuji Instax Mini pics from our February trip to Kansas City, just waiting until the right kit came along. As soon as I saw this Making Memories packaging in the Magellan add-on, I knew it would make a perfect cover. The packaging had more of a faux suitcase shape, but I opted to trim it down into a rectangle. I then backed the opening in the front with a transparency and added a couple die cuts and Basic Grey studs to the outside.


Next, I spent some time thinking about how I wanted to construct the inside of the album. Since I was dealing with original photos, I wanted them to be protected - but I needed to keep the pages on a fairly small scale so they'd fit within the cover. Once I came across these divided page protectors (we keep them on hand for the boys' baseball and Pokemon cards), I know I could turn it into individual pages.


I began by cutting the page protector with my trimmer - I left one row of pockets intact, cutting about 1/2in beyond the dividing line. I repeated the cut on the other side of the middle row, which left me with two strips of three pockets. I then cut those strips into three pockets each - one divided page protector will give you six mini album pages.


My next step was to cut three pieces of kraft cardstock to 4x5inches. I scored them 1/2in from the edge and then added one to the back side of my album cover. I then used a hole punch to punch two holes through both the kraft cardstock and the cover.


Using the punched cardstock as my guide, I punched each of my page protectors as well as the two remaining pieces of kraft cardstock.


Since I knew the title page would show through the window in the front of the book, I laid it in place inside the album as I worked on it, and made sure to shut the album to see how it all looked before I stuck everything down! Once I'd finished, I wanted to hide the backs of the staples from my tiny attacher and the stitching, so I layered a second piece of kraft cardstock behind it. If you have additional journaling you'd like to add to your book, both the back of the title page and the back page of the album would be perfect - just stamp some journaling lines and write away!


Now came the fun part - working on the pages! I cut kraft cardstock to the same size as my Instax Mini pics and built from there. Each page got a label stamp stamped with pumice stone ink and punched out with my photo label punch, and a mix of products from the kit.


To bind the album, I simply stacked up all of my pages and threaded a length of twine through the two holes. I looped it around three times and then tied it off at the back of the album.


My boys have enjoyed flipping through this album - the size is perfect for little hands!!

May 7, 2010

member spotlight : qingmei

Happy Friday, all!! I'm super excited to sspotlight one of our members today - the lovely and talented Geralyn! She goes by qingmei on the message board and I'm sure you've noticed her beautiful pages in our gallery. Geralyn's work shows a wonderful sense of color and design, and I can't wait to share a little more about her with you all.


1. What 3 items can you not live without?
Studio Calico alpha stamps (particularly the Carter & Storytime alphas).
Label stickers.
Border punches.


2. What's inspiring you right now?
These days, I find a lot of inspiration from browsing through tumblr or design blogs (one of my favorites is http://ohjoy.blogs.com/). I also get inspiration from JCrew and Anthropologie catalogues. If I ever feel like I'm stuck, the amazing DT gallery at SC never fails at inspiring me; I love browsing through the past galleries as well.


3. What's your favorite Studio Calico kit?
Joyland - I love the color palette and the mix of papers, alphas and embellishments is perfect. I find that my layouts with Joyland are coming together pretty quickly because I love the combination of supplies so much.


4. What are you listening to right now?
Hmmm...The Fray, Jack's Mannequin, Joshua Radin, Matt Nathanson, Explosions in the Sky, and Voxtrot. Oh, and songs from Glee!

5. Any guilty pleasures?
CW's The Vampire Diaries. I thought it was a silly show, but my sister got me into it at the beginning of this year and now I find myself anticipating the newest episode each week :)

6. Choose a layout that best represents you as a scrapbooker.
Hmm, I don't really know how to define my 'style', but perhaps this layout:


I picked this layout because it shows that I scrapbook 8.5x11 pages (I'm more comfortable with the smaller size than 12x12). I feel that my layout designs are pretty neat/clean, but I love adding details and embellishments. Oh, and I always handwrite my journaling! :)

Here are a couple more examples of Geralyn's work:


How fun are those fisheye pics?? i love the added patterned paper borders on two of her photos, and titlework here is perfect.


More beautiful titlework on this page - and I absolutely love the misted background and all of the little bits sprinkled around the page.

I hope you enjoyed this inspiration - please stop by Geralyn's gallery for even more gorgeous projects! If you have any questions for her, please ask away - I'm sure she'd be happy to answer.

May 6, 2010

insider tips : from inspiration to finished page

On Tuesday, I shared a few inspiration pieces with you. Today, I thought I'd show you how I used those ideas on a page.


I started with this piece as my main inspiration. I loved the way the hexagons were scattered on the background, and wanted to use a similar design on my page. I cut one hexagon from the Studio Calico exlcusive paper in Granny's Cupboard, and then used it as a pattern to cut more from other patterned papers from Anthology and Granny's Cupboard.


I played around with the placement of the hexagons and drew in where I wanted to add stitching, stamped journaling lines and some border punched paper. I use this trick a lot - once you stitch and stamp, there's no going back! This gives me a better way to visualize how it will look once I've added those elements. Once I'm happy with the basic design, I usually snap a quick photo. Because if I'm going to add stitching to the background I've got to go back to the beginning.


Yep. Everything came off the kraft cardstock. I added the strips of red at the top and bottom and stitched around my border, then added the graph patterned fabrip and the blue punched paper and did some zigzag stitching. I also stamped the journaling lines in pumice stone down in the bottom corner.


Then I need that photo that I snapped so I remember how to put it all back together! I added a few more hexagons and another fabrip to the page, and the stitched them all in place. The American Crafts glitter brads from Linens and Lace were the perfect accent to my small punched circles. At this point, if at all possible, I walk away from the page for a while. It's almost done, but I know it needs some finishing touches.


The next morning, I added the tab at the top of the photo (it's a sticker from the Anthology Labels - I punched a few hearts in it and backed it with the grey Aperture paper), the layered accent at the bottom right of the photo (that space just felt empty to me - I layered a piece of October Afternoon Thrift Shop paper punched with my Fiskars L Seal of Approval punch with a stickers from October Afternoon and Anthology, and then topped it with chipboard hearts). I also added a couple more small chipboard hearts tucked in with the other elements on the page. I added my journaling and did some stapling with my tiny attacher to finish the page.


I used some of the other ideas from the original inspiration post - the circles within the hexagons and planning my cuts around an element in the patterned paper. These ideas helped make my groupings more interesting than if it had all just been patterned paper.

So that's a little peek into my creative process - let me know if you have any questions! =)

April 5, 2010

challenge : make a card out of scraps

Hi all!! Steph W and I are hosting the blog this week, and I'm here to start things off with a challenge. =)

I've admitted before that I'm a messy scrapper. As I work, my desk gets covered in little bits of patterned paper and embellishments or stamped images that didn't make it onto a page for one reason or another. When I clean up, I tend to think that these little bits and pieces would make great cards.


This card uses mostly bits from my most recent page - piggy rides. The 3 circles were already punched in the backing from a package of Studio Calico's rubons. I had stamped the house in Mustard Seed before settling on Tumbled Glass for the page, so I used that along with a scrap of the Home Front Blown Fuse paper. I finished the card with some stitching, vintage seam tape and bits of fabric from a recent sewing project.


This card uses leftovers from my Joyland kit. I liked the effect of layering these two papers when I used it on my 3 of a kind page, so I used the same technique to make a big "9" for my oldest's birthday.

So that's our challenge for this week. Take the leftover, cast aside and not used items from your last project and throw them together into a quick card. Post a link to your card on this thread on the message board, and we'll draw one winner for a $5 gift certificate to the shop. You've got until midnight EST on Saturday night to enter!

March 10, 2010

Wednesday Tutorial - Paint Splatters

I know this is going to seem really easy, but this is one of THE most asked questions about my layouts lately.

First, gather a cup, a basic paintbrush, some craft paint like this from Making Memories, or any other acrylic paint like Claudine Hellmuth's Studio line. Also, have some water on hand.


Next, add just a little paint to your cup. Once you have the amount of paint you want, depending on your project, add just a little water to thin it out. Always add water to your paint, because if you begin with too much water, you'll waste a lot of paint trying to get it to the right consistency.


Mix up the paint and water, then go to town. You can also use a toothbrush for this, and bend the bristles back to splatter paint in all different directions.


Once you're done splattering, and the paint has dried finish decorating your piece with mists and stamps. I used Sunflower Yellow, Orange, and the awesome vintage airplane stamp from the Studio Calico shop.


Then you're done! Add this technique to gifts, art journals and layouts :)


xoxo,

Steph W.