
Kelly N here with a quick tutorial on this Sunday morning. I love making "homemade" embellishments for my pages. Making your own accents for your pages is creative and fun and can add a lot of personality to your page. Today, I'm going to show you how I made this simple sun accent on my He Shines layout from my Back 40 gallery. This page uses papers from the Main kit plus mostly products from the Free Range add-on. Free Range was definitely my favorite add-on this month. The bright colors were so fun and I looove those JBS buttons!

The first thing you need to make the sun is 2 different sized circle punches. I used the 3 inch punch and a smaller circle punch. Punch a large circle from yellow patterned paper. Punch a smaller circle from a similar pattern and stick it on top of the larger circle.
 Next cut small strips (about 1/4" or so) at varying lengths. Use the In Stitches punch to punch some of the strips. After punching the strips, use some baker's twine and a needle to stitch in the holes.
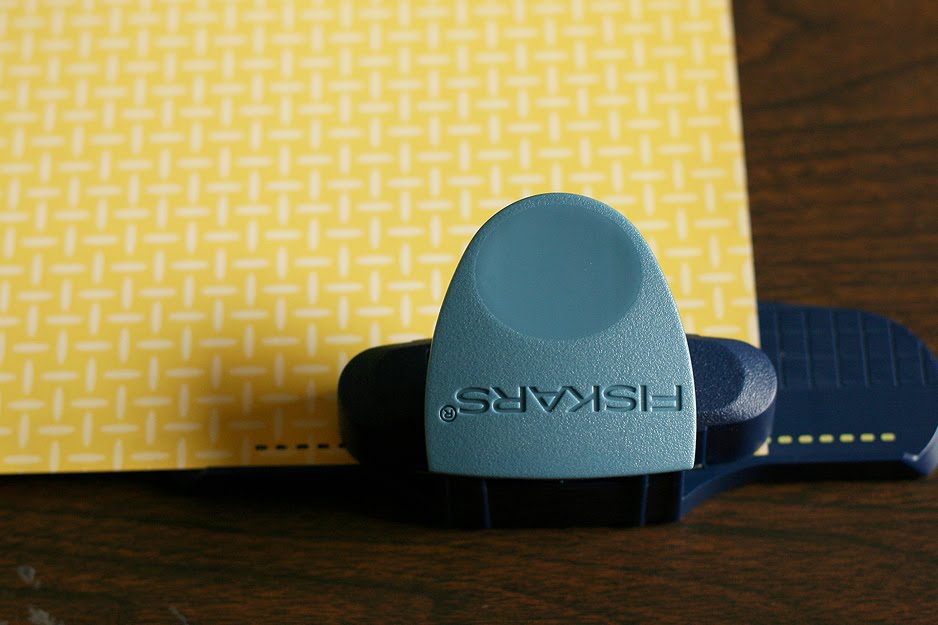 Use American Crafts Foam Tabs to adhere the circles to your layout and arrange and adhere the strips you cut around the sun.
 Once you've got your sun in place, adhere 3 chipboard clouds (from the shop...LOVE all of the great pieces in this set...clouds, banner, flowers!) using more Foam Tabs on top of the sun for some detail.
 And that's it! Super simple, but with plenty of impact. I hope you'll try making your own page accents. If you do, be sure to upload your layouts to the gallery so we can see! Have a great Sunday!


1 comment:
thanks Kelly. your embellies look so great. love how easy you make it. =)
Post a Comment