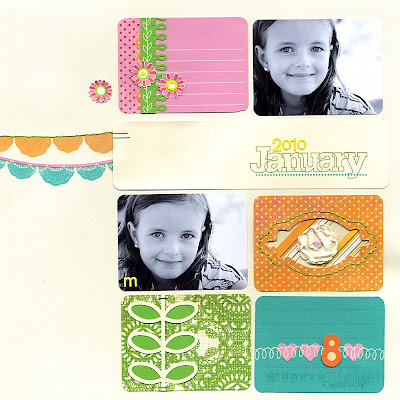
Hi all! While you're waiting ever so patiently for the February kits and gallery to go live, I thought I'd try to provide a little distraction in the form of a tutorial. I was working on this page for
this week's sketch and had quite a bit of fun creating my own background using misting and stitching, and wanted to share how I did it.

I started by cutting my patterned paper (I used one of the grid patterns on a B side of a Basic Grey Origins piece that was in the Whodunit kit) to size and laying out a pattern of punched circles. I just punched them out of scrap paper that was in my misting box - it looks kind of cool as is, doesn't it? I might have to use that idea on another page. =)

I then carefully lifted the paper and placed it in my misting box, and gave it a few sprays with
Lemon Maya Mist.

Here's the background after misting. I kept it light enough so that the grid pattern was still fairly visible.

I wanted to add more texture to the page, so I threaded my sewing machine with yellow thread and stitched a wonky spiral in each circle. I just stitched around and around, pivoting the paper with my fingers as I stitched. I didn't slow down or pay any attention to keeping my lines evenly spaced - I wanted an uneven, funky look.

Once I started laying out the rest of my page, I felt like the bottom half still needed a bit of a punch. I started by punching stars with my
Fiskars Twinkle Twinkle punch from the same grid paper and spraying them with more
Lemon Maya Mist, and then adding them to all of the large circles.

To finish the bottom half of the page, I stapled each star in place, and added some journaling strips and a little bird stamp from one of the Whodunit add-ons stamped in
Timber Brown Staz-On. I also added glitter brads from the upcoming Scones add-on to each smaller circle.

To finish the top of the page, I added a strip of Basic Grey patterned paper (from the upcoming Tea Cakes add-on) and some Prima printed canvas (it's in the upcoming Petit Fours add-on), as well as a Jenni Bowlin circle die cut and wood letters from the Whodunit kit and add-ons. Another stamped birdie and two pins from one of the Orchestra add-ons finish the page.
I hope you're inspired play around with sewing, masking and misting to see what kind of fun backgrounds and accents you can create - if you do, please send me a link, I'd love to see it! I also encourage you to play with mixing and matching your kit leftovers - it's a great way to give those leftover bits a new look.


I agree...impossible to pick just one...but I do really love the grey buttons/stitches! Nicely done, SC!!!
January 18, 2010 12:14 PM